
Obmuer Temple Walkthrough: Slates, Keys and Dagoom
Reach Obmuer Temple with two Wind Dashes, gather four Triangular Slates outside and follow the key route through its flooded interior. The release
FAQ
How do you open the temple entrance?
How do the Trident Keys and third Wind Gem fit the route?
How do you open the temple entrance?
Use two consecutive Wind Dashes across the broken western bridge and activate the monument beyond it. Four Triangular Slates are in the flooded ruins outside the locked temple. Use the red-fish pool as a landmark: one slate lies on guarded stone to its east; another is reached by climbing the collapsed western columns. A third is below the upper Trident pickup area toward its western corner. The fourth sits on an isolated central raised platform reached with Wind Dash. Collect the Trident while crossing the ruins, then bring all four slates to the sealed entrance. You do not need to clear every fish before opening the door.
How do the Trident Keys and third Wind Gem fit the route?
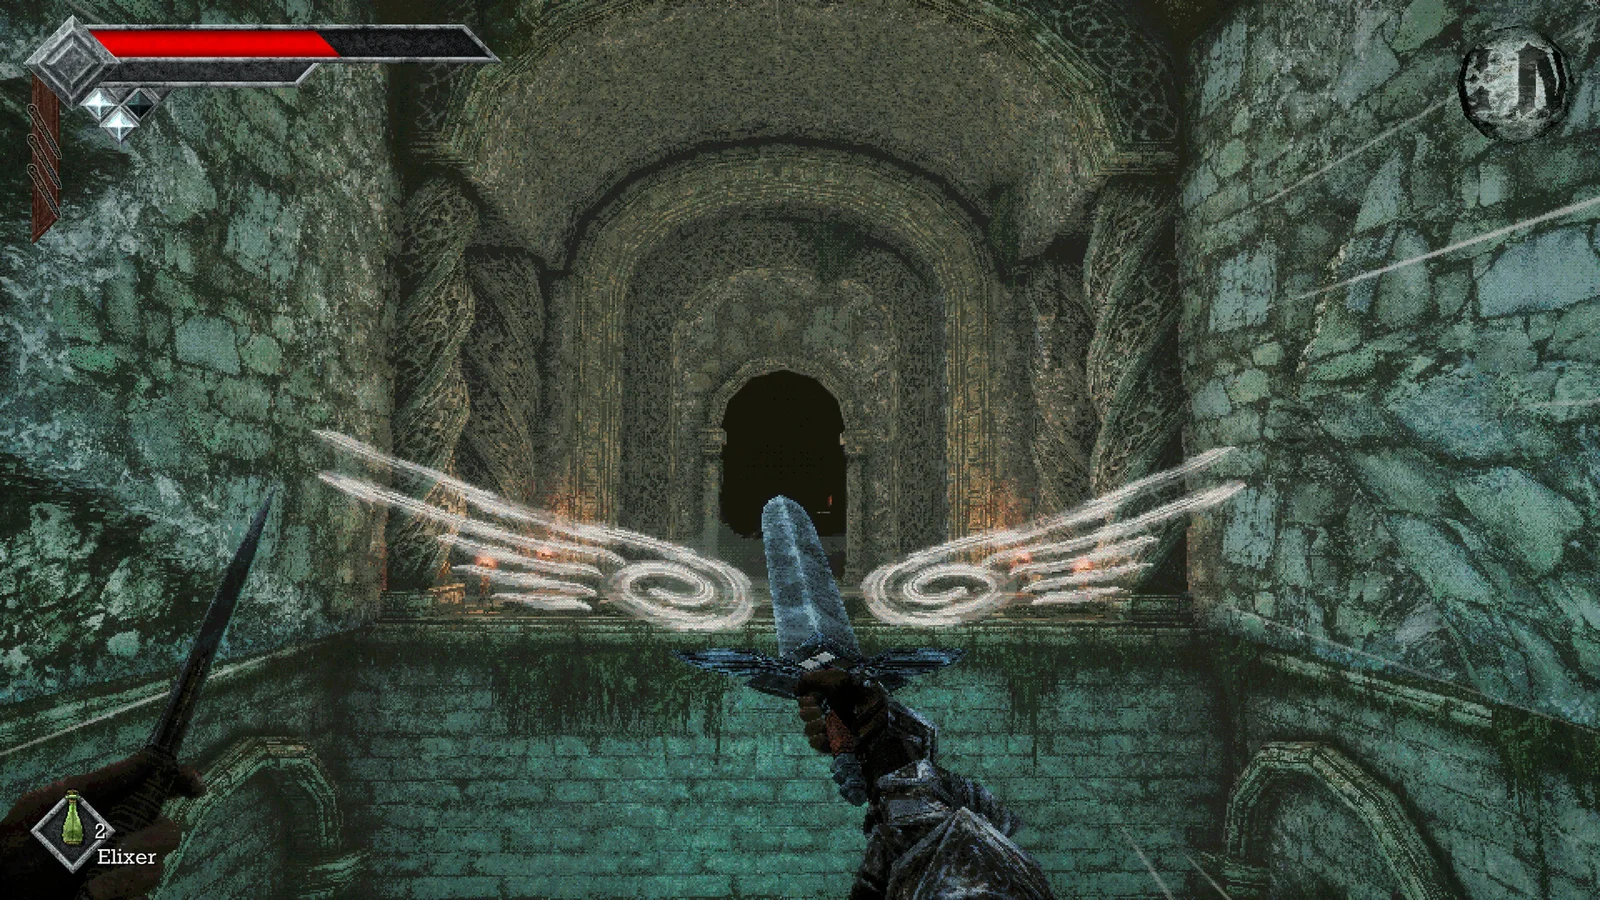
Search the watery lower section near the entrance for the first Trident Key and use it to continue to the second monument beside the large pit. From there, descend toward the opening in the wall below the pit and dash into it. The passage leads to an upper section with a skeleton ambush, the second key and the third Wind Gem. Return with three dash charges to cross the large pit. Move keys between the required sockets as you progress. Only two keys are found inside the temple; additional sockets include optional rewards. For the wider four-key puzzle, another key comes from leveling the outside Trident to its maximum until its head breaks off, while a later shop key becomes available after the Tower of Knowledge boss. Those later keys are not prerequisites for reaching Dagoom.
What opens Dagoom’s door and how do you survive the fight?
Beyond the multiple-key room, find and defeat all three Royal Guard sub-bosses in the large cavern. A surviving guard, rather than a missing optional key, keeps the boss door shut. Save and retain healing and rechargeable ranged attacks for Dagoom. Watch the water for poison and current effects; do not chase an apparent melee opening through a damaging patch. Use throwing weapons at safer range and apply Azure Torch burning when an opening permits. Clear fish that obstruct movement instead of spending every charge on them. Wind Dash can reposition you away from dangerous water. The documented rewards are the Silver Duck Figurine and Treacherous Baleen achievement. Deliver the figurine to Umbada for expanded stock, light the exit-route Gargoyle with Azure Torch and return toward the Tower.
Related guides
Related Articles
combat
Power Meter and Charged Attacks: Avoiding Weak Swings
Let the Power Meter recover before expecting a strong melee hit, and stop running when you need it to refill. Launch guides explain that running
combat
Shrine Guardian: First Boss and Holy Sword Endu
Bring the shrine key, charged throwing daggers and quick-slot healing before entering the coastal shrine. Give the Guardian’s overhead strike extra
combat
Status Effects: Recognizing Debuffs and Recovering
Check the Status screen or the in-game Guide when an effect changes movement, damage or available actions. Launch-version notes distinguish ailments
Was this helpful?
Thanks for the feedback!